Making a custom UI
Although the default UI was designed to support a variety of usage scenarios, you may still run into a case that it doesn't handle very well. Perhaps you want to move some buttons around, or add like and dislike buttons to the control bar, or perhaps integrate a text chat component inside your player. In these situations, you may want to build a custom player UI to create a truly unique experience for your viewers.
In this guide, you will build a custom player from scratch, starting from a basic player and gradually adding more features. Finally, we will look at some more complete examples of custom players, which you can use as reference for your own UI.
A basic player
We'll start by making the most basic player possible: one with just a play button.
setContent {
    UIController(
        config = THEOplayerConfig.Builder().build(),
        source = SourceDescription.Builder("https://example.com/stream.m3u8").build(),
        centerChrome = {
            PlayButton()
        }
    )
}
The UIController component is the main container of our custom UI. It handles creating and managing the underlying THEOplayer instance, using the given config and source properties.
It also provides a skeleton layout for plugging in our playback controls, using slots such as topChrome or centerChrome. We pass a composable lambda as the centerChrome parameter, in which we create a PlayButton. This will place a play button in the center of our player.

We can add more components so the user can mute or seek the player, or go fullscreen.
setContent {
    UIController(
        config = THEOplayerConfig.Builder().build(),
        source = SourceDescription.Builder("https://example.com/stream.m3u8").build(),
        centerOverlay = {
            LoadingSpinner()
        },
        centerChrome = {
            PlayButton(
                iconModifier = Modifier.size(96.dp),
                contentPadding = PaddingValues(8.dp)
            )
        },
        bottomChrome = {
            SeekBar()
            Row(verticalAlignment = Alignment.CenterVertically) {
                MuteButton()
                CurrentTimeDisplay(showDuration = true)
                Spacer(modifier = Modifier.weight(1f))
                FullscreenButton()
            }
        }
    )
}
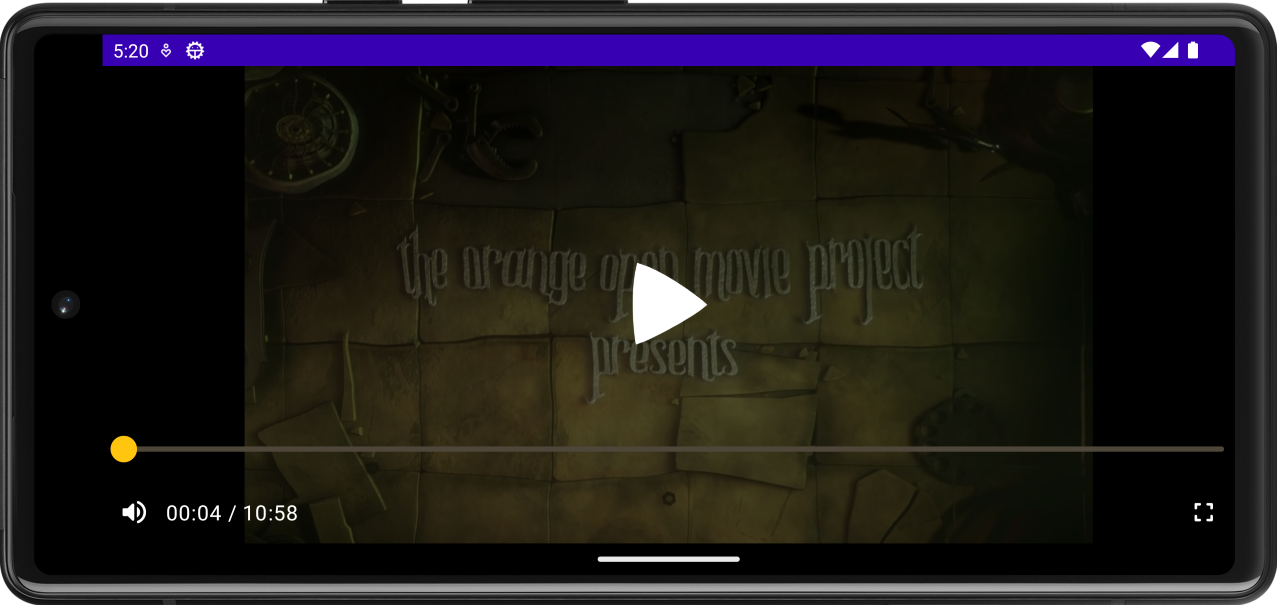
LoadingSpinneris a circular loading spinner that is automatically shown when the player is waiting for more data. It is placed in thecenterOverlayslot, which appears in the center of the player but behind thecenterChromeslot.SeekBaris a seek bar, showing the player's current position in the video, and allowing the user to seek to a different time.MuteButtonis a button to mute or unmute the player's audio.CurrentTimeDisplayis a text showing the player's current position in hours, minutes and seconds. By settingshowDuration = true, the text will also show the player's total video duration.FullscreenButtonis a button to make the player take up the entire screen.
Additionally, we change the size and padding of the play button, to make it bigger and easier to tap.
Using the player's state
You might have noticed that all buttons are visible immediately, even before the video starts playing for the first time. Most of the time however, you want to initially show only the play button, and then show the rest of the buttons after the video has started playing. To do this, you should check the player's current state and then adjust your player layout accordingly.
Within any of the composable lambdas you pass to UIController, you can use Player.current to access the current player. This Player object exposes properties for the player's current time, duration, paused and muted states, etc. See Player.kt for the full list of properties.
You can then perform any logic on these properties to adjust your player layout. For example, you can check the firstPlay property to see if the player has already started playing for the first time, and only show certain buttons if that property is true:
setContent {
    UIController(
        config = THEOplayerConfig.Builder().build(),
        source = SourceDescription.Builder("https://example.com/stream.m3u8").build(),
        centerChrome = {
            PlayButton(
                iconModifier = Modifier.size(96.dp),
                contentPadding = PaddingValues(8.dp)
            )
        },
        bottomChrome = {
            // Retrieve the player's state
            val state = Player.current
            // Show the bottom control bar only if we have already started playing before
            if (state?.firstPlay == true) {
                SeekBar()
                Row(verticalAlignment = Alignment.CenterVertically) {
                    MuteButton()
                    CurrentTimeDisplay(showDuration = true)
                    Spacer(modifier = Modifier.weight(1f))
                    FullscreenButton()
                }
            }
        }
    )
}
All of the Player properties are backed by an observable State, so composables that read these properties will automatically re-compose whenever that property changes. This means you don't need any extra logic to re-draw the bottom control bar whenever firstPlay changes from false to true. This also makes it easy to create your own custom player components. See the Jetpack Compose documentation for more information.
@Composable
fun MyCurrentTimeDisplay(
) {
    val player = Player.current
    val currentTime = player?.currentTime ?: 0.0
    // This text will automatically update whenever the current time changes
    Text(text = currentTime.toString())
}
More examples
Default UI
It may sound odd to mention the default UI when we're talking about custom UIs. But in fact, the default UI is built in exactly the same way as a custom one!
The default UI comes with all the bells and whistles that you'd expect from a fully-featured player: buttons to play or mute the video, a seek bar to seek through the video, menus to change the audio language and subtitles, and support for casting to Chromecast.
Have a look at DefaultUI.kt to learn how the default layout is implemented, and perhaps copy some ideas for your own UI.